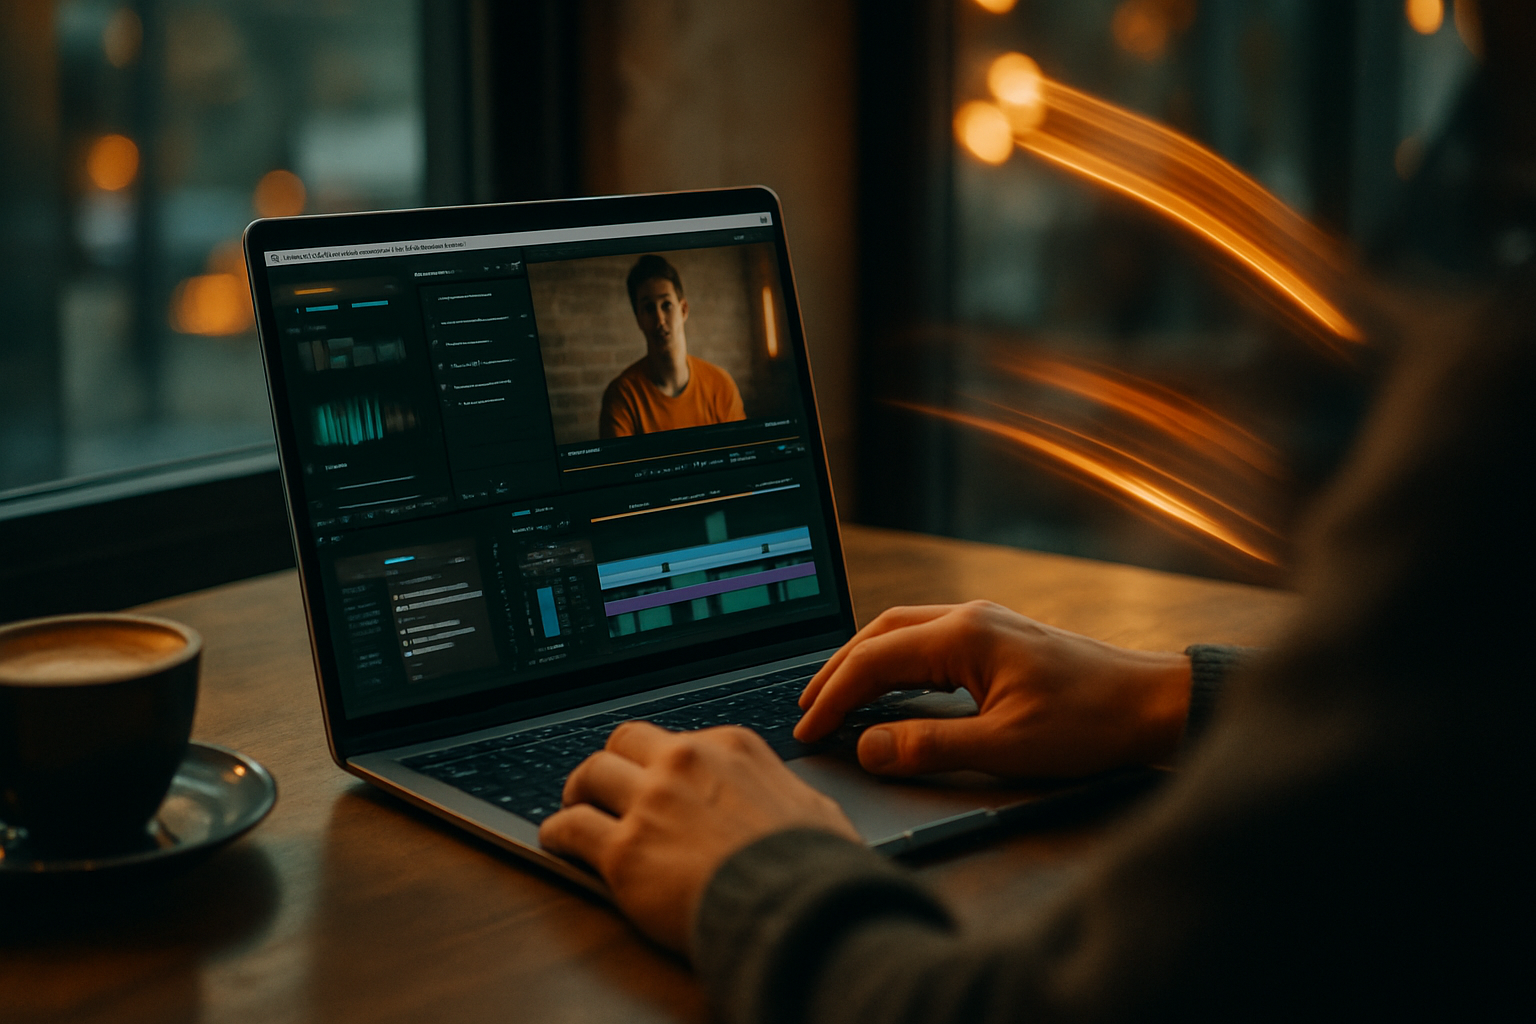
Videography has become one of the most dominant forms of digital communication, regardless if you are producing content for YouTube, creating a short film, filming a wedding or building a brand on social media. There is no doubt that the principle aspect of any great video is storytelling and creativity, nevertheless, using videography equipment is essential when it comes to quality work and presentation.
To many new videography enthusiasts, cameras, lighting equipment, audio gear and editing software can seem like a foreign world. This article will take you through essential videography equipment so you can make informed choices for your experience level, taste, and budget.
Table of Contents
Toggle1. Camera: The Core of Your Setup
The camera is the most single most important piece of equipment in videography. Choosing the right camera will depend on your experience, what types of videos you will be shooting and your budget.
Types of Cameras:
- DSLR Cameras (Digital Single-Lens Reflex): This is one of the best options for most videographers. Good for photography and videography, a DSLR has interchangeable lenses and manual setting options that will allow for creativity. A couple of examples include the Canon EOS 90D and Nikon D7500.
- Mirrorless Cameras: These cameras are popular, especially with vloggers. They are smaller than DSLRs, have fast auto-focus, and have better video-specific features. Popular brands include Sony A7’s and Panasonic Lumix GH5.
- Cinema Cameras: This is going to be something for a higher-end video production. These cameras are made with increased codecs, better dynamic range, better audio connections, etc. It is not uncommon for these cameras to be geared solely toward independent film, like the Blackmagic Pocket Cinema Camera or Canon C70.
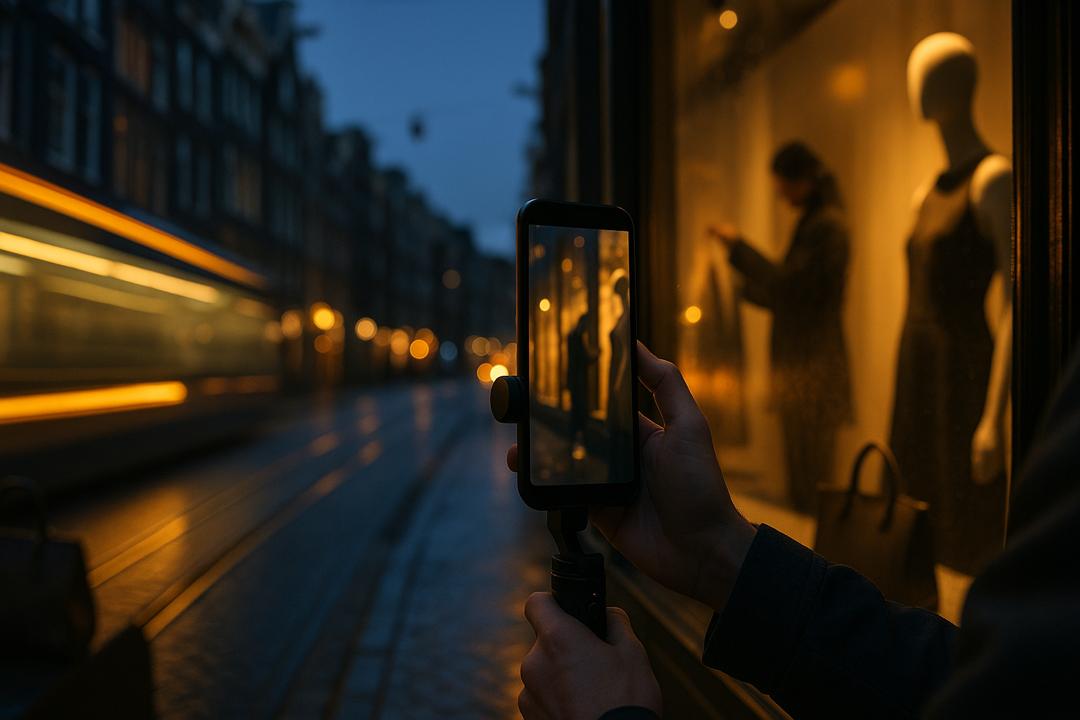
Smartphone Cameras: Don’t discredit what you can do with today’s smartphones like the iPhone 14 or Samsung Galaxy S24, capable of shooting in 4K capacity, and many of the greater selection of camera features allow for manual setting with the help of 3rd party apps!
2. Microphones: Capturing Clear Audio
Audio quality should be prioritized just as, if not more, than visual quality. Bad audio makes beautiful footage difficult to watch.
Common Microphone Types:
- Shotgun Microphones: Directional microphones that primarily capture sound in front of the microphone. They are often used for interviews, dialogues, and vlogs. A good option to consider is the Rode VideoMic Pro.
- Lavalier (Lapel) Microphones: A small clip-on microphone used for interviews or live presentation. Lavalier microphones are typically CLIpped onto a piece of clothing, they have a twisting base to avoid falling off, and they are unclipped easily to promote speedy use between speakers or presenters. They are perfect for interviews in loud places to clear just the voice. The most popular wireless lavalier system is the Rode Wireless GO.
- Condenser or USB Microphones: They are best used for voice-overs/narrations or other podcast-style recordings. These microphones are usually secured in one place in a controlled environment. Blue Yeti or Shure SM7B are good examples of condensers.
Pro Tip: Always be sure to monitor audio levels using headphones, and when you are outdoors be sure to consider using a windscreen, (also called a dead cat in the audio industry).
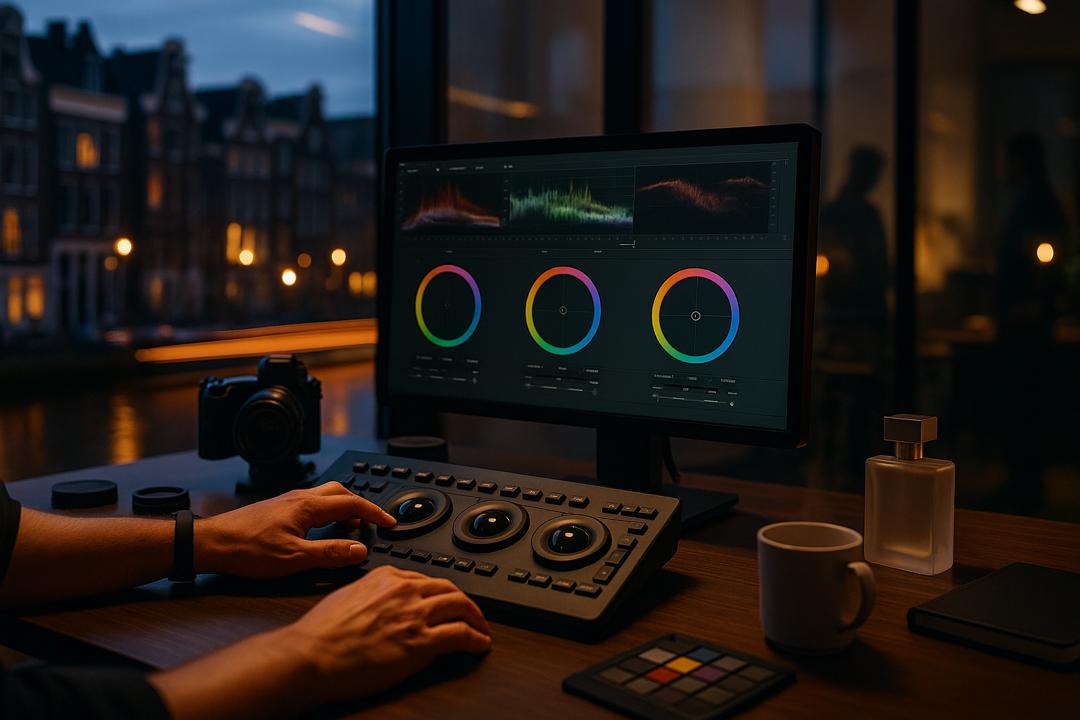
3. Lighting: Setting the Scene
Good lighting can improve the look of your video. Even the best camera will not produce good results in bad lighting.
Lighting Options:
- Softbox Lighting Kits: Softboxes provide a large, soft, diffused light source that is great for interviews, product videos and indoor studio setups.
- LED Light Panels: Lightweight, generally adjustable, and often battery powered, LED lights are perfect for both studio and on-location shoots. Many allow control of color temperature and brightness.
- Ring Lights: These produce a flattering and even light and are often used for beauty videos, tutorials, and content that is shot directly to camera.
- Natural Light: Shooting with the lights on and near a window or outside during the golden hour of the day (early morning or late afternoon), gives you great lighting without equipment.
Lighting is also about control. Learn to shape and control lighting using a simple reflector or diffuser known as a scrim and other simple materials you may have around the house like white foam board.
4. Stabilization: Keeping Your Footage Steady
Unsteady footage can look unprofessional and distract the audience from your message. Especially with unsteady cameras, stabilization tools can help you have more of a smooth look and feel to your production.
Stabilization Equipment:
- Tripods: The must-have piece of gear for any stationary shots (interviews, product videos, etc.). You can also find fluid head tripods that are great for panning shots.
- Gimbals and Handheld Stabilizers: Motorized systems for balancing your camera while you move. You can create cinematic, tracking and walking shots. Available units like the DJI Ronin-S and Zhiyun Crane are solid options.
- Monopods: Provide more flexibility than a tripod, and are often a good to use during events that require more movement.
- Shoulder Rigs and Sliders: Are more advanced setups, but can give more control in motion and framing.
5. Accessories: Supporting Tools That Make a Difference
Small accessories can greatly affect your shooting experience and the quality of your output.
- Memory Cards: Use high speed cards (UHS-I or HH-II), they handle large video files better, especially if you are shooting in 4K.
- Extra Batteries and Chargers: Cameras and lights use a lot of power, always have spares so you will have no interruptions.
- External Monitors: Help with focus, exposure and composition. Also useful when shooting solo or in tough lighting conditions.
- ND Filters (Neutral Density Filters): Allows you to shoot with wide apertures in daylight without overexposing your footage.
- Camera Bags and Cases: Protect your gear, keep everything organized and together, especially on a trip or on location.
Final Thoughts
Investing in the right videography equipment can change the quality and effectiveness of your work but remember, tools do not create a great video alone. The tools and equipment are only a part of the process. Learning the essential basics of storytelling, lighting, composition and editing, are just as important.
Begin with a small setup, upgrade when possible, and spend most of your time focused on practicing and being creative. Weather your making content for a business, personal brand, or even the pursuit of art, having the correct setup, budget, and knowledge will allow you to create something close to your vision.
So if you are ready to step into the world of videography, you can begin the process of assembling your kit with intention, and start your storytelling journey.