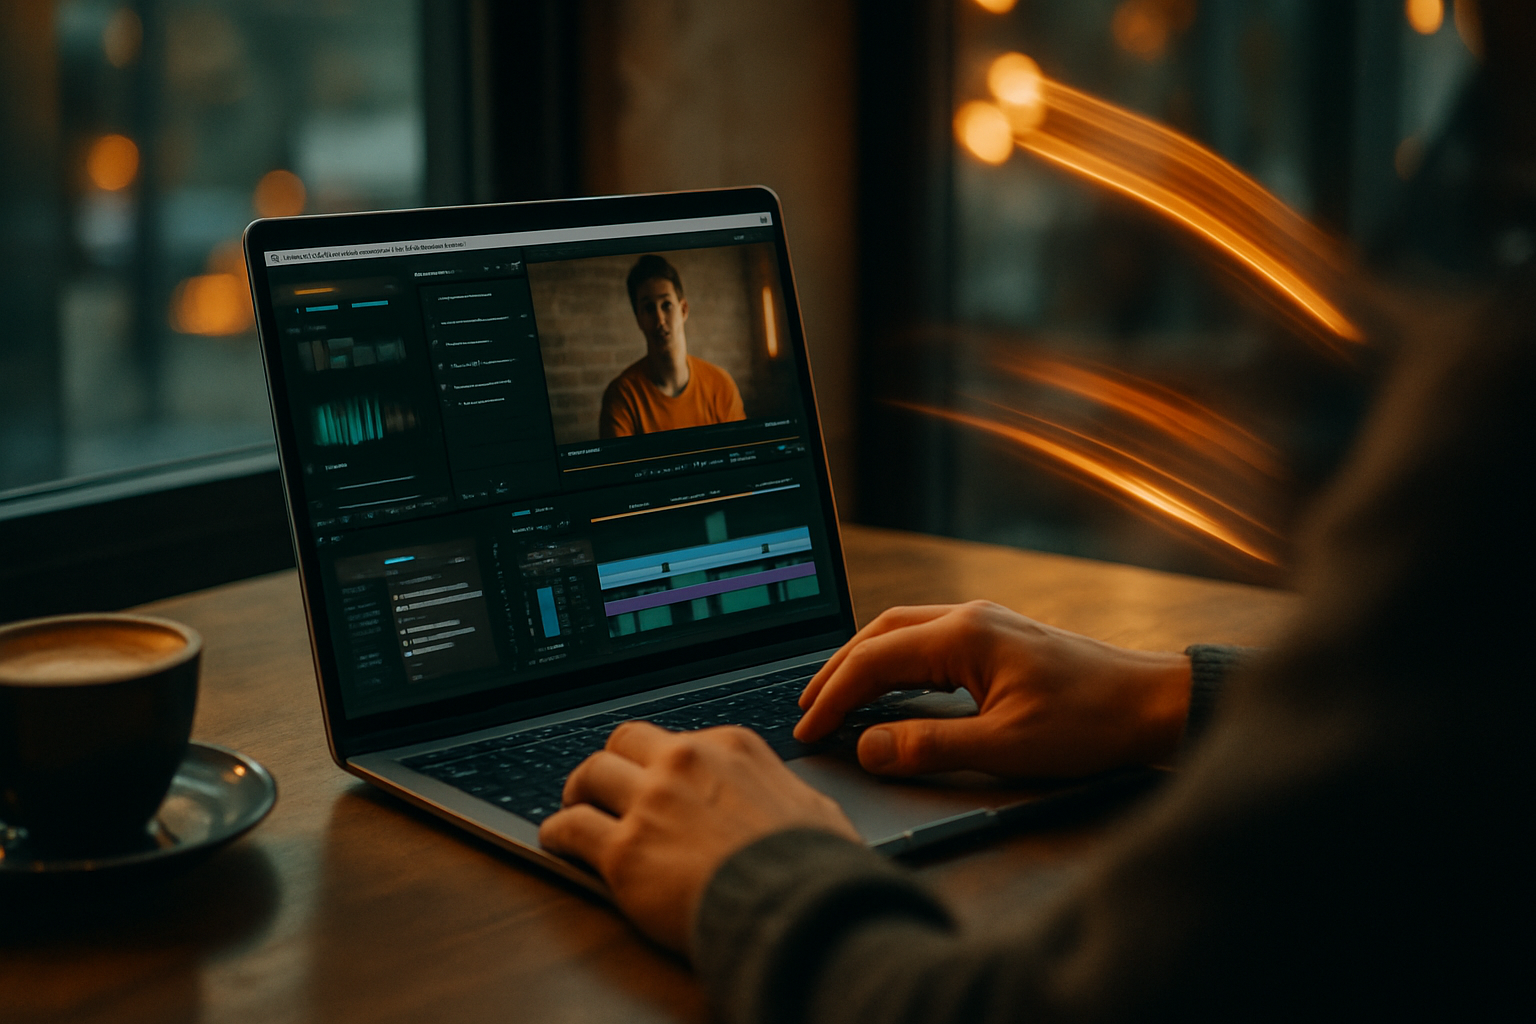
Every good video has a story, and every good story has an editor. Whether it’s a viral vlog on Youtube, a cinematic short film, or a brand commercial with a big bang, what we see as an audience is only half of the story. The other half occurs in the edit suite where a multitude of hours of raw footage is whittled down into something impactful and polished.
If you are a beginner and want to know how to get into video editing, or you are a video content creator wanting to get better at it, this blog will help you understand the tools, techniques, and mindset needed to turn a bunch of raw clips into visual gold.
Table of Contents
ToggleWhat Is Video Editing, Really?
Video editing is at its core storytelling. It is not just about cutting footage together, having music underlaid, and telling a good story. It’s about creating emotion, guiding focus, and rhythm. Editing is in charge of the tempo, the mood, and the message. Whether or not your viewer clicks away, or watches your video in full hinges on the edit.
Video editing can be explained as doing the directing in reverse. While the director gets to directly capture the story, the editor gets to decide how the story is told.
Choose Your Weapon: Picking the Right Editing Software
Before getting lost in timelines and audio adjustments, you will need to choose the right software editing. Where you are in your journey of video editing is relevant to which software you choose.
Beginner-Friendly Options:
- iMovie: Set up for Mac. Clean and simple experience makes it perfect for first-time editors.
- Adobe Premiere Rush: Simple use for fast/social media ready videos that can be completed on desktop and mobile.
- Filmora: User-friendly design and many drag-and-drop effects make it fast, fun, and easy to use.
Professional-Level Tools:
- Adobe Premiere Pro: Industry standard. It is powerful, flexible, and has many features that allow serious storytellers to do their craft.
- Final Cut Pro: Mac version only, blazing fast, and a lot of industry professionals use it.
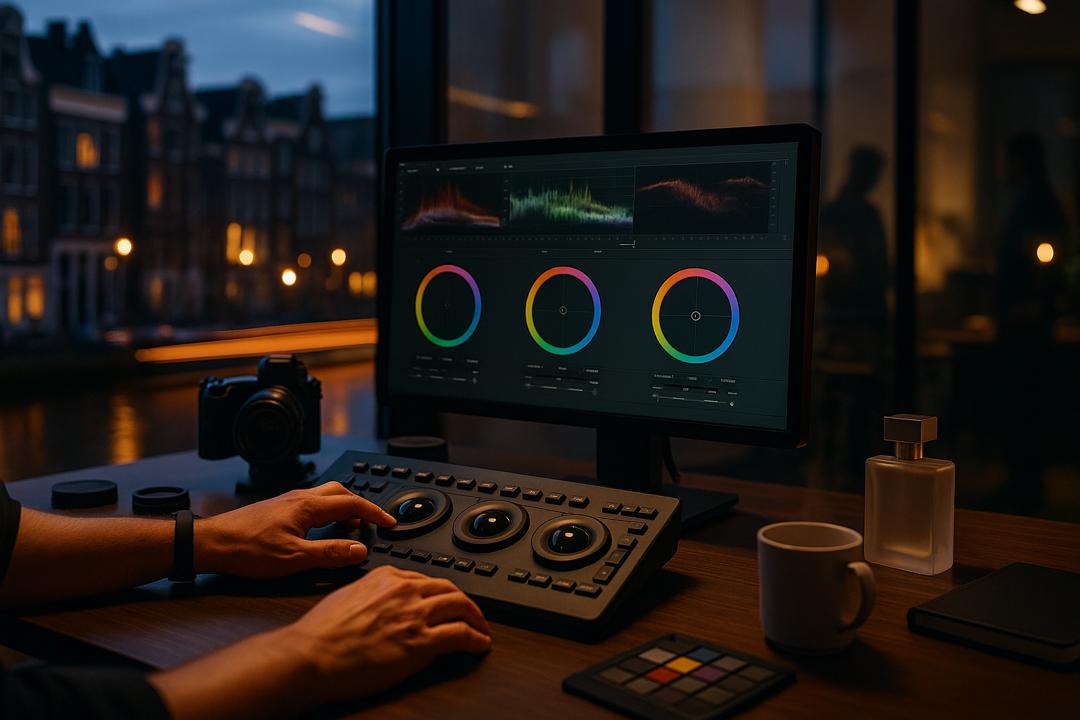
- DaVinci Resolve: Legendary for color grading. It is now a powerhouse as a full editing suite and has a pretty robust free version.
Tip: You do not need the fanciest software editing tool to begin. The most important aspect, is how well you understand your chosen tool.
The Essentials: Editing Techniques Every Creator Must Know
Let’s put the effects aside for now. If you can master these fundamentals, you’ll be more equipped than the whole crowd:
- Cutting and Trimming: Your best friend. Know how to cut out dead space, awkward pauses, or anything else that doesn’t contribute to story.
- Pacing: A hard cut creates urgency, while a slow cut builds tension. Your edit should reflect your message.
- Transitions: Don’t go overboard. Sometimes a straight cut can be much better than wipes or spin effects.
- Text and Titles: Make sure it is legible – whether it is identifying a person, some subtotal text, or an initial title card. Less is more.
- Music Syncing: Make big moments in video by synchronizing moments in that video with beats in music. Don’t just throw some music over the video and call it good. Edit to the music.
- Color Correction: Hopefully they will be useful all at shooting stage, but use white balance, exposure, and contrast to get your footage consistent.
- Sound Design: Layering of noise, sound effects, or subtle background texture tracks. Remember, audio is 50% of your video, so treat it that way.
These basics are the backbone of all professional editing, so get good at them first before you move onto advanced effects and techniques.
Structure = Sanity: Building an Efficient Workflow
Video editing is not only about creativity but also about organization (if not, you will end up searching for your files rather than actually editing).
Start with a plan:
- Organize your media: Use a sensible naming convention for your files and properly sort your footage, music, and images into folders.
- Create a rough cut: Get everything down on your timeline. Don’t worry about it looking perfect, get the bare bones of the story down.
- Fine-tune your edit: Trim to the right length, edit for pace, clean up the transitions.
- Polish the audio: Get the levels of your dialogue, background sound/music, and sound effects to a balanced level.
- Apply color correction: Make sure your visuals are consistent and pleasing to the eye.
- Export smart: Export based on where the video will go (Youtube, Instagram, etc.)
The efficiency of the workflow allows for more time spent creating, and less time worrying.
Mistakes to Avoid (So You Don’t Learn the Hard Way)
Every editor has made all of these mistakes at some point, but now you can avoid them:
- Too many effects: Just because you have 500 transitions at your disposal in your editing software doesn’t mean you need to use them all.
- Poor audio: Bad audio will ruin video, and you can’t multi-task audio on project audio until you have everything neat and organized. There is no “nice” way to monitor audio other than to do it with a set of headphones on, and always level your mix.
- Ignoring pacing: Don’t let scenes drag out in your video. When it is finished, watch and experience what you have created, and then ask yourself if you would skip any of your own lengthy shots?
- Color inconsistency: Nothing yells “amateur” louder than seeing skin tones all over the place between shots.
- No backup: Save the project often. And then save it again. Yes, save it one more time.
Exporting Like a Pro
When you are finally ready to share and deliver your masterpiece, you want to export out your project in the best quality possible without creating a file too large to send. Most platforms will accept some type of the following:
- Resolution: 1080p (Full HD) as the standard, with 4K becoming more common.
- Frame Rate: 24fps for cinematic, 30fps is the most standard video frame rate, and 60fps in fast-moving content.
- Format: MP4 (H.264) has become universal.
- Bitrate: 10–20 Mbps for HD and 30–60 Mbps for 4K.
You should always preview the final video before you upload it. Watch out for glitches, spelling mistakes, and audio flaws.
Going Beyond the Basics: Next-Level Editing Skills
Now that you have the basics down, you can challenge yourself with some advanced editing techniques:
- Green Screen (Chroma Keying): You can replace backgrounds for artistic or practical purposes.
- Motion Tracking: Attaching text or other graphics to objects or people in motion.
- Speed Ramping: Changing speed creates a storytelling element, you might wish to slow things down or speed things up.
- Multicam Editing: Sync multiple camera footage and switch between camera angles seamlessly.
- After Effects Integration: You can create original animations and motion graphics.
It takes time to learn these skills but ultimately they will distinguish your work from the average.
Final Thoughts: You’re the Editor, You’re the Storyteller
Video editing is not only a technical process, it is an artistic craft. The editor is the last drummer in the band. The editor is the only person who has creative freedom on how to tell the story, what the audience sees, and how it will feel. That is now your role.
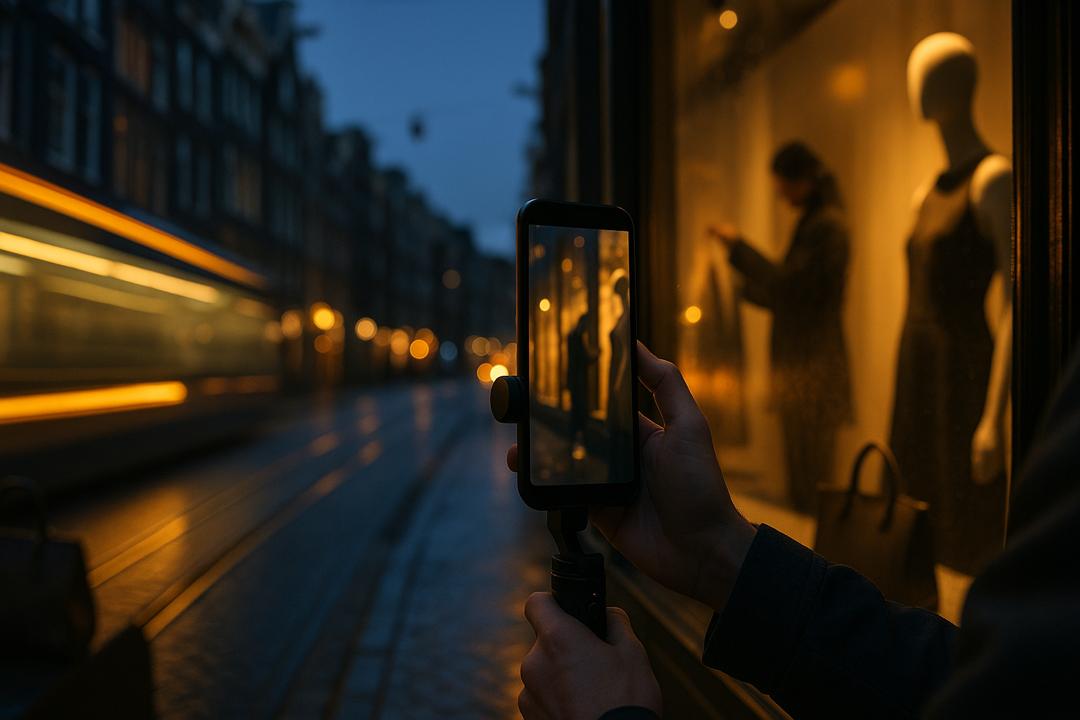
Do not wait until you have the perfect footage, or high-end storytelling equipment. You’re able to start with what you have. Practice with short ‘trial’ clips. Learn through studying your favorite video makers. Make new mistakes, get feedback and repeat.
In the content creation landscape, video editors are the hidden builders of visual stories. If you want to make a difference, this is where it starts.